Overview
Once E2D (Electronic-to-Digital) is enabled in Aqilla, any purchase invoices sent to your dedicated inbox email address will be automatically captured and prepared for you.
Instead of manually entering invoice details, the system reads the document and extracts key information such as the supplier, invoice lines, VAT, and totals.
This means:
-
Less manual data entry
-
Fewer errors
-
One central place to manage all incoming invoices
The Inbox
The Draft Purchase Invoice Inbox is where all your incoming invoices are collected and organised.
It gives you a clear, at-a-glance view of:
-
Emails that have arrived
-
Invoices missing suppliers
-
Exceptions that require review
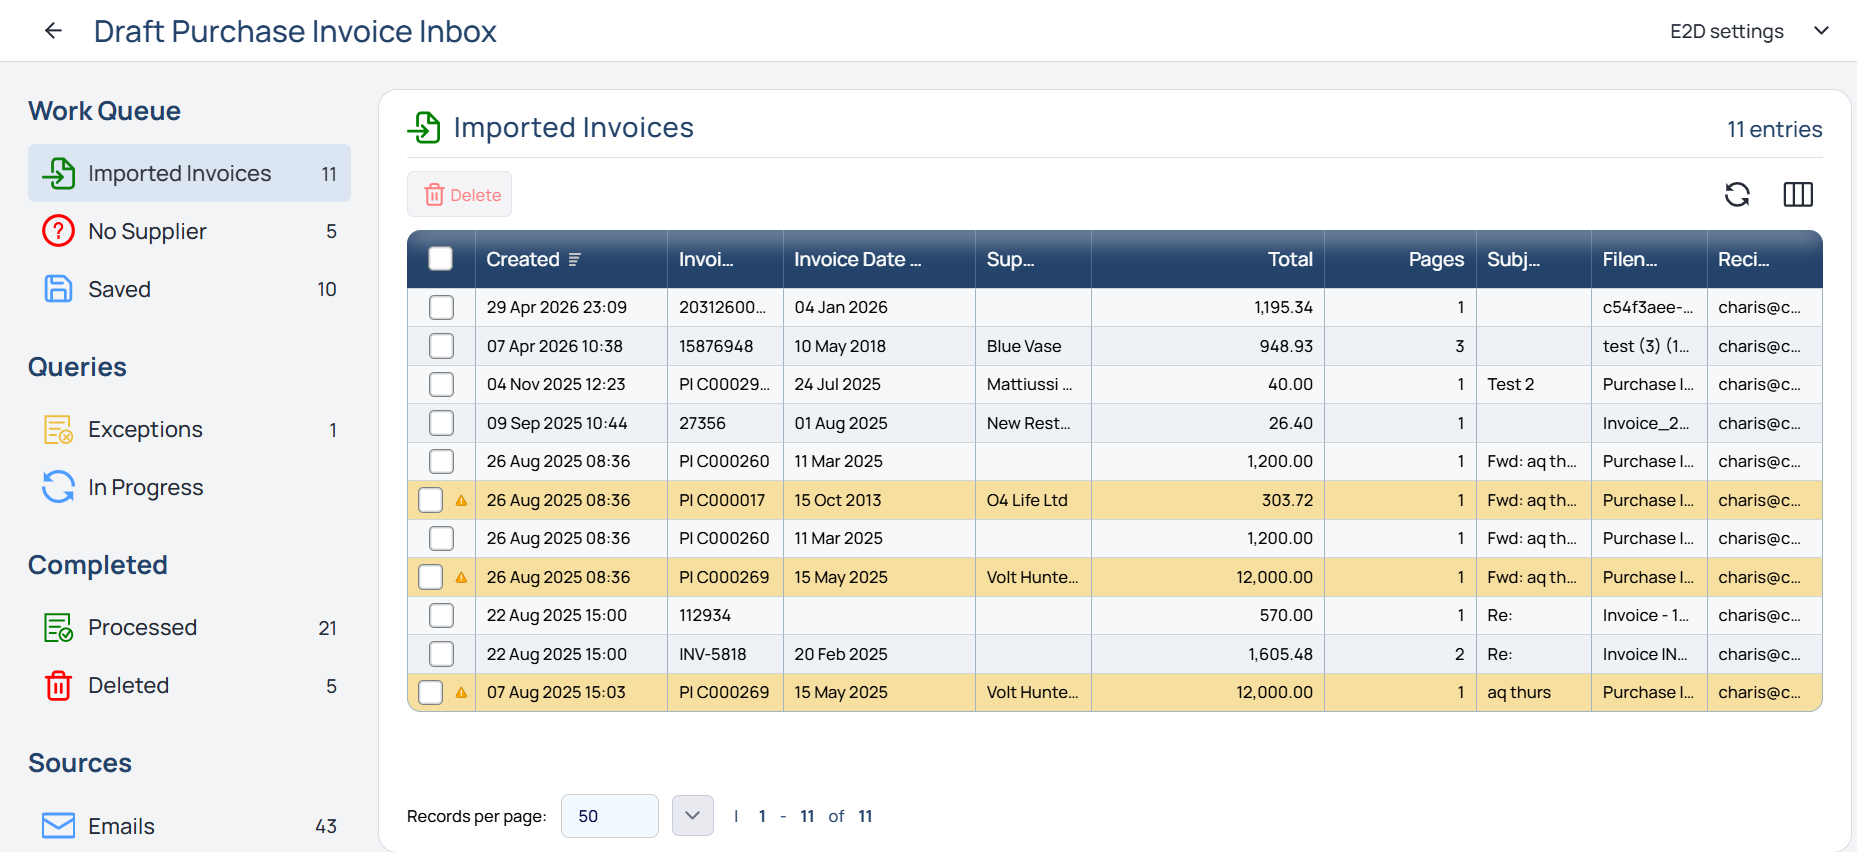
From here, you can:
-
Process invoices into Documents > Purchase Invoices
-
View imported, deleted, or processed invoices
-
Filter and quickly find invoices which require review
For example:
If you select Missing Supplier, you’ll see a list of invoices where the system couldn’t confidently match a supplier.
Inbox Categories
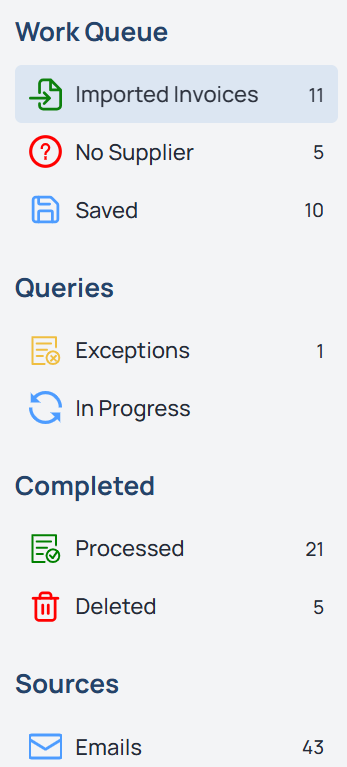
Switch between views like imported, deleted, and processed invoices to keep everything organised and easy to track.
Quickly locate ready or problematic invoices using these options.
Imported Invoices - Successfully imported invoices appear here
No Supplier - Successfully imported invoices with undetected suppliers appear here
Saved - Saved invoices appear in this folder
Exceptions - Processable invoices not transferred into draft purchase invoices appear here, possibly due to suspected non-invoice documents or duplicates
In Progress - Files being processed remain here until moved to a relevant folder
Processed - Files manually or automatically created into Purchase Invoices appear here
Deleted files - Files you choose to delete
Emails - A summary of sent emails
Inbox Settings:
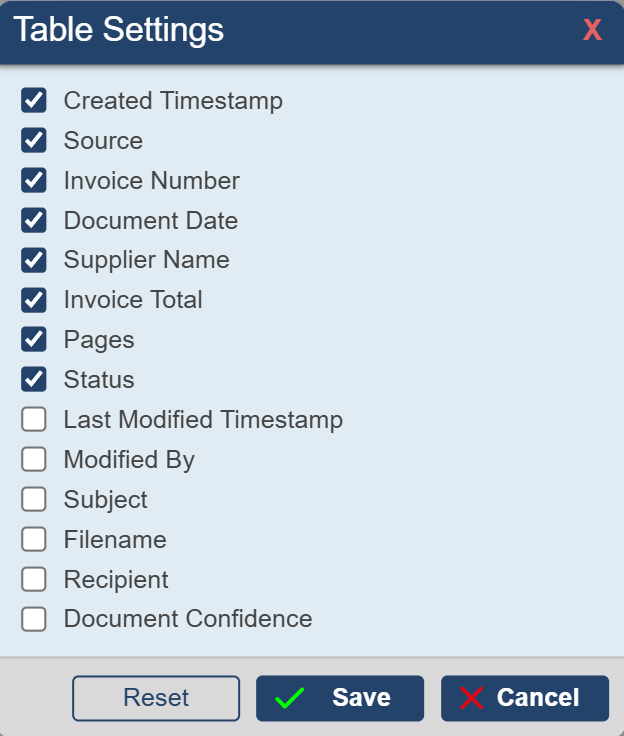
This table allows customers to adjust column width by hovering between columns and dragging the cursor to the desired position. You can also reorder columns by dragging and dropping when the cursor changes to a grab hand. The column icon to the right of refresh lets you select which columns to include in the table view.
To adjust the displayed information:
-
Look for the column icon on the right-hand side of the inbox
-
Click it to open Table Settings
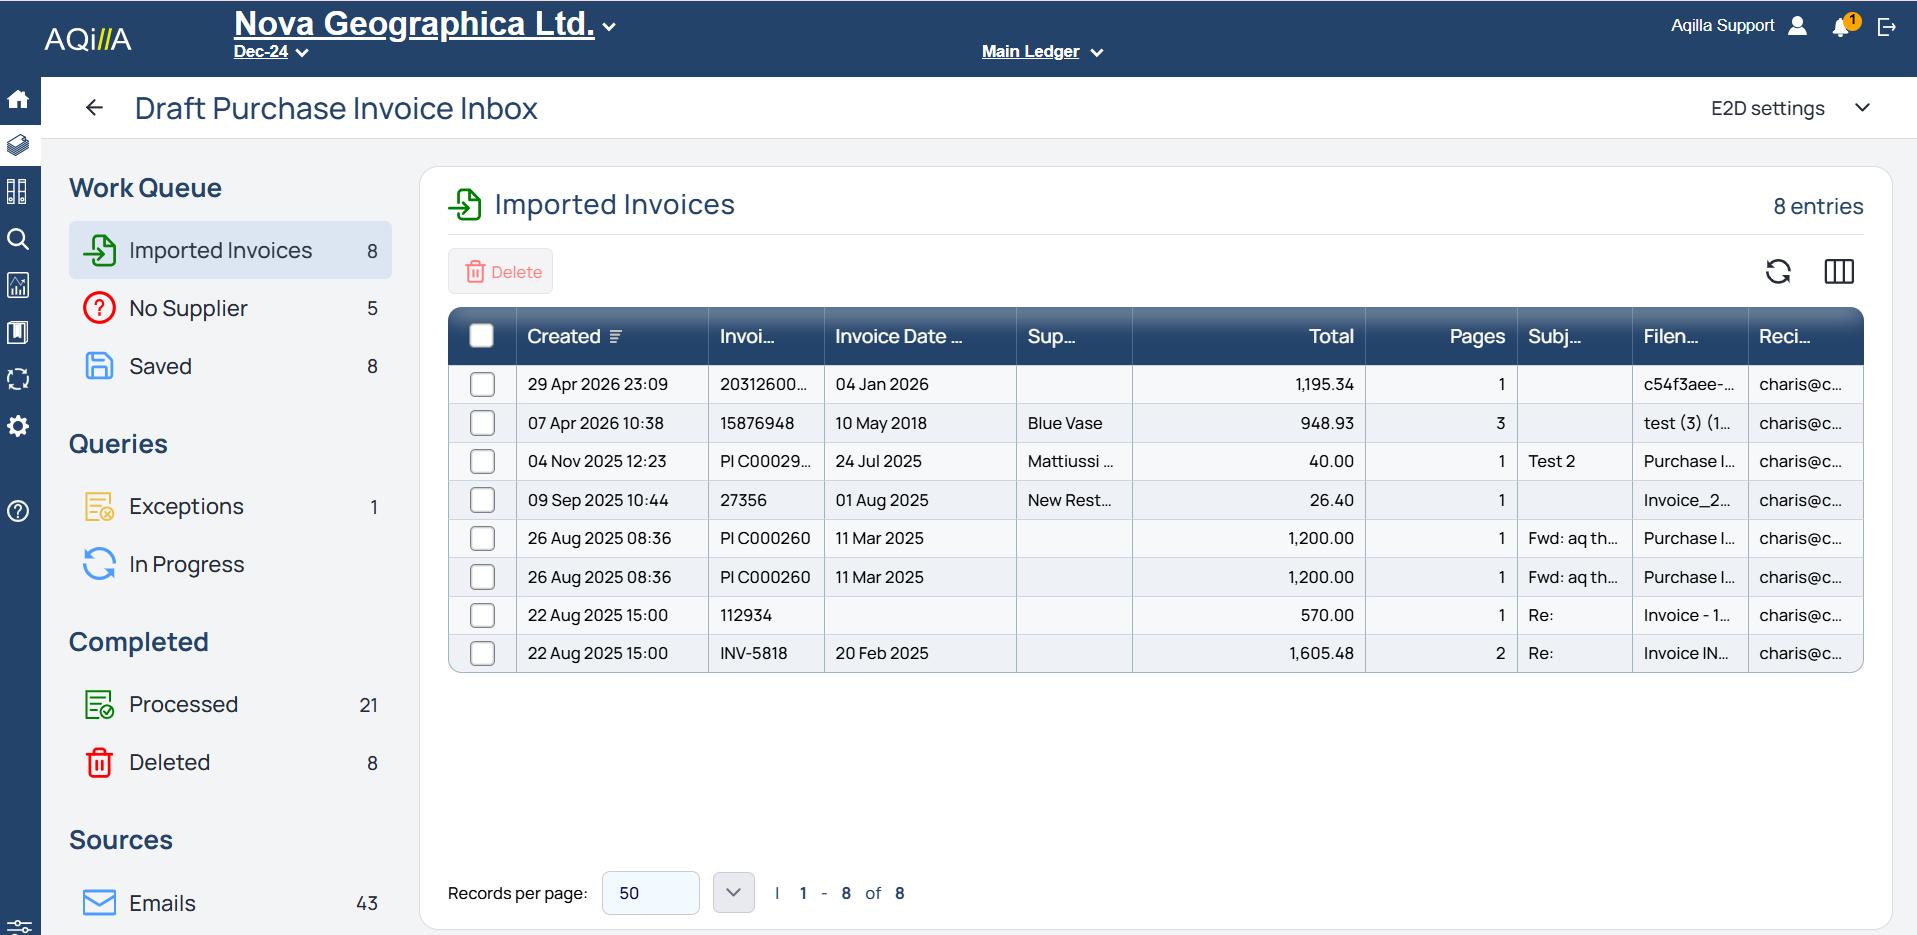
On the right hand side of the inbox, the gear box opens up the Table settings, which allows you to change the information displayed in the columns on the inbox.
From here, you can:
-
Add or remove columns
-
Display additional attributes
-
Tailor the view to match your workflow
Simply select the fields you’d like to see, then click the save checkmark to apply your changes.
You can also:
-
Reset to default settings RESET
-
Cancel without saving ❌
Keep in mind that adding more columns may make the table wider and require more screen space.
Opening the Invoice
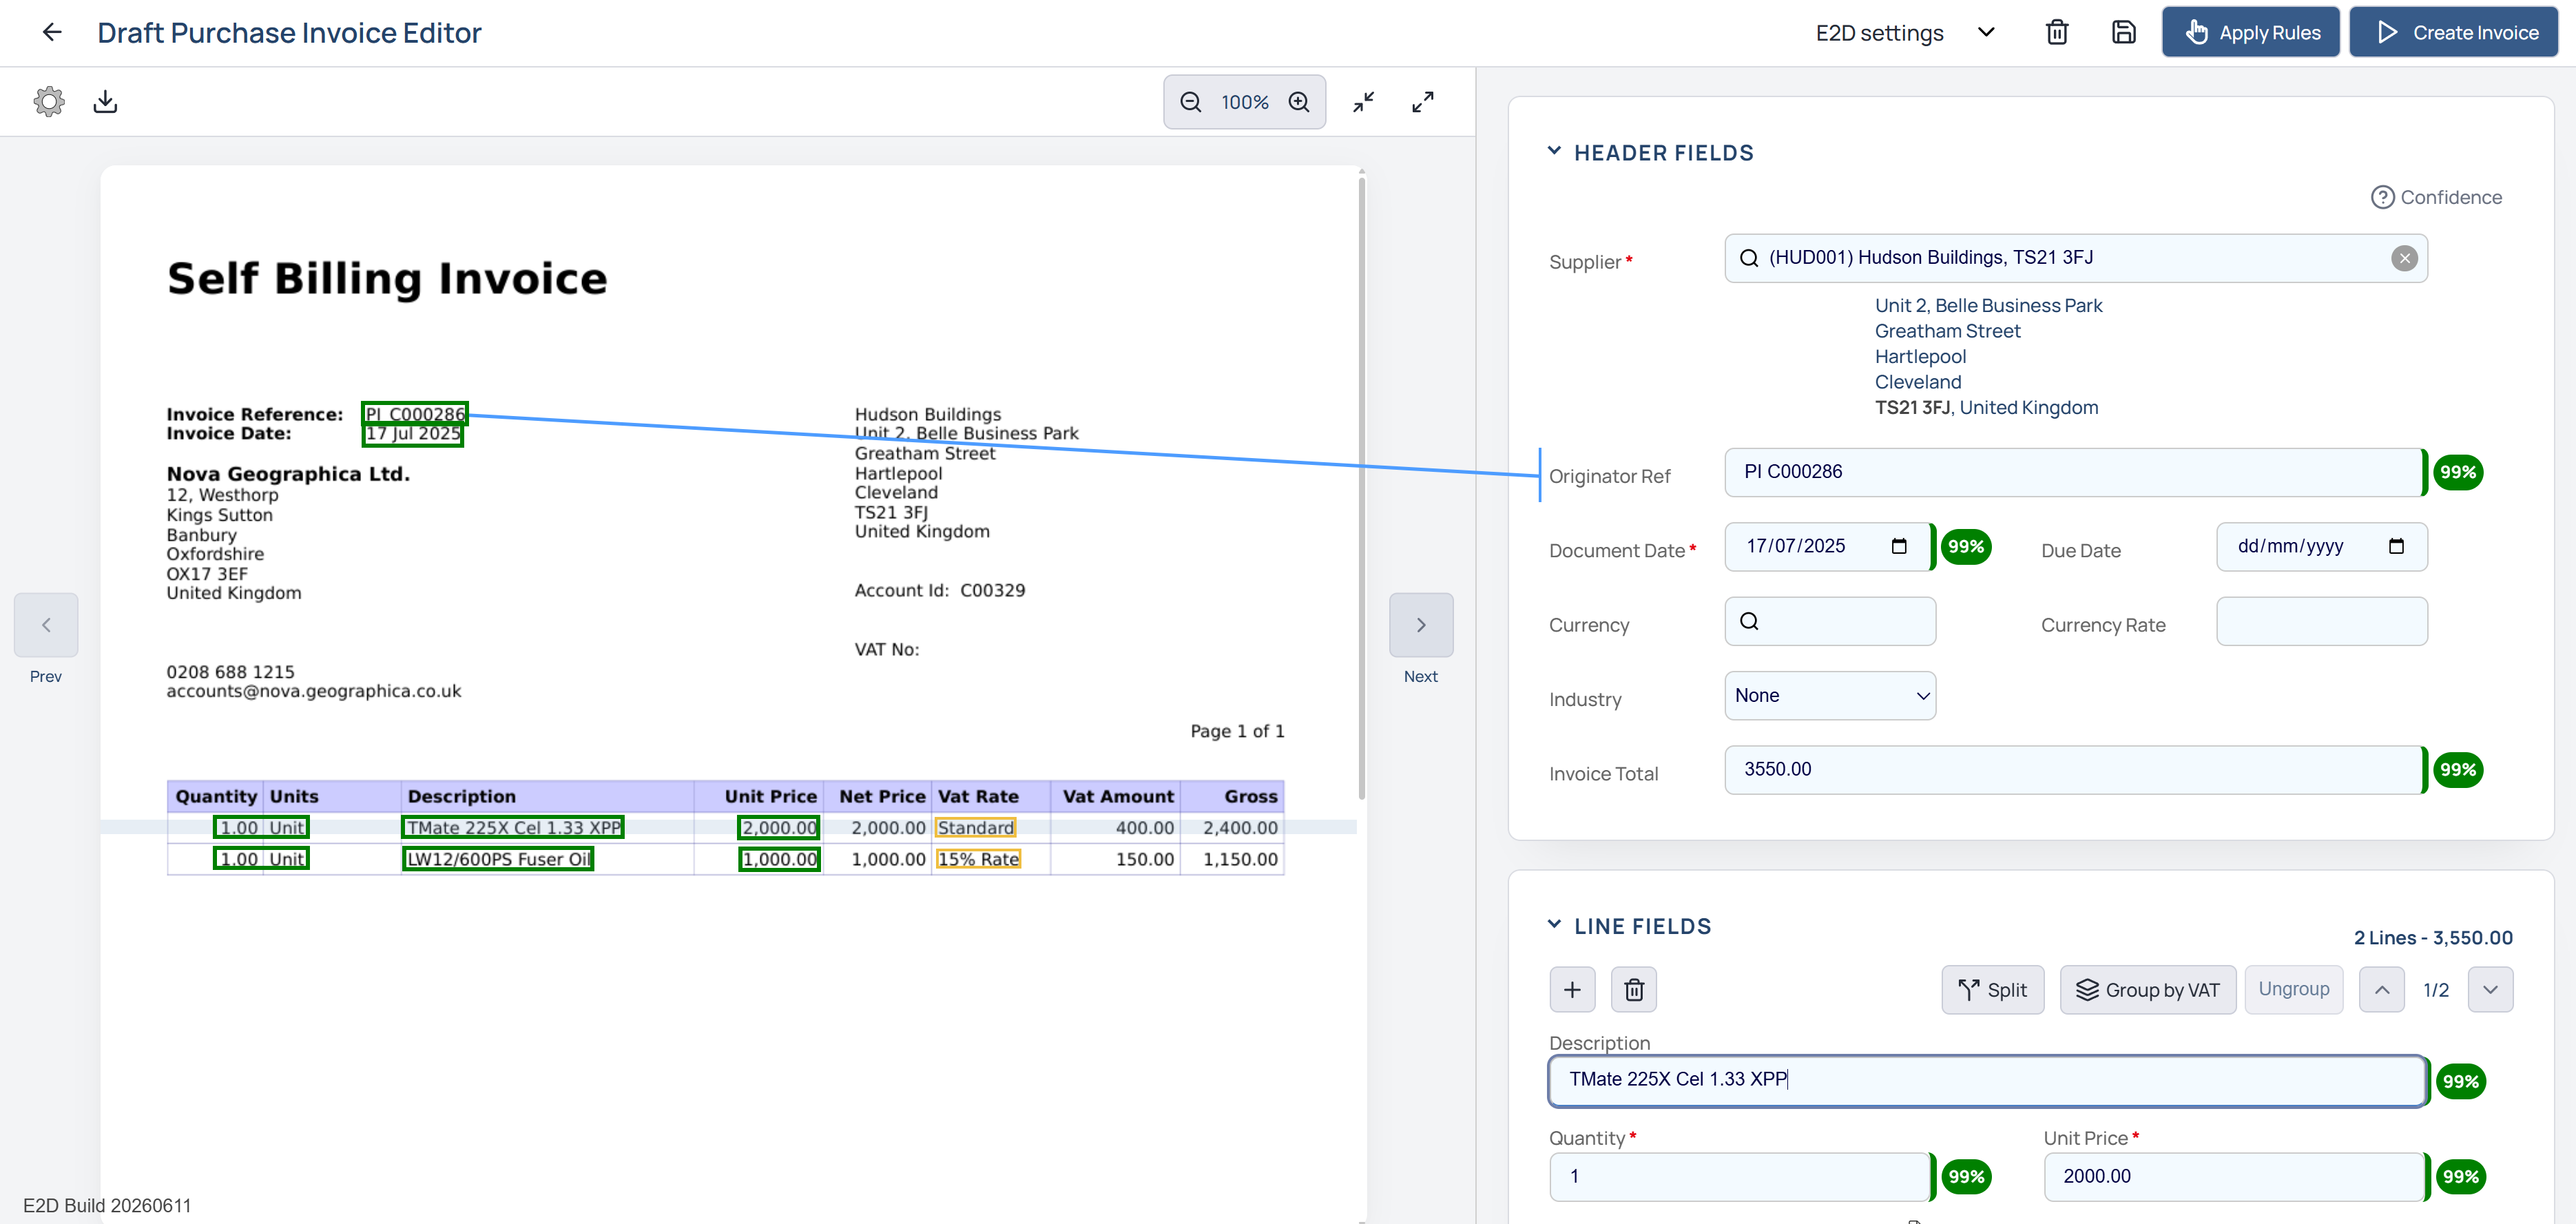
Clicking on a document in the inbox will take you to the document page.
To review an invoice in more detail, simply click on it in the inbox.
This will take you to the Draft Purchase Invoice Editor, where you can check and edit the extracted information before processing.
E2D Settings - How to configure an inbox.
Click here: To see how to configure the Purchase Invoice Inbox:
Next Step: Setting Up Your Inbox
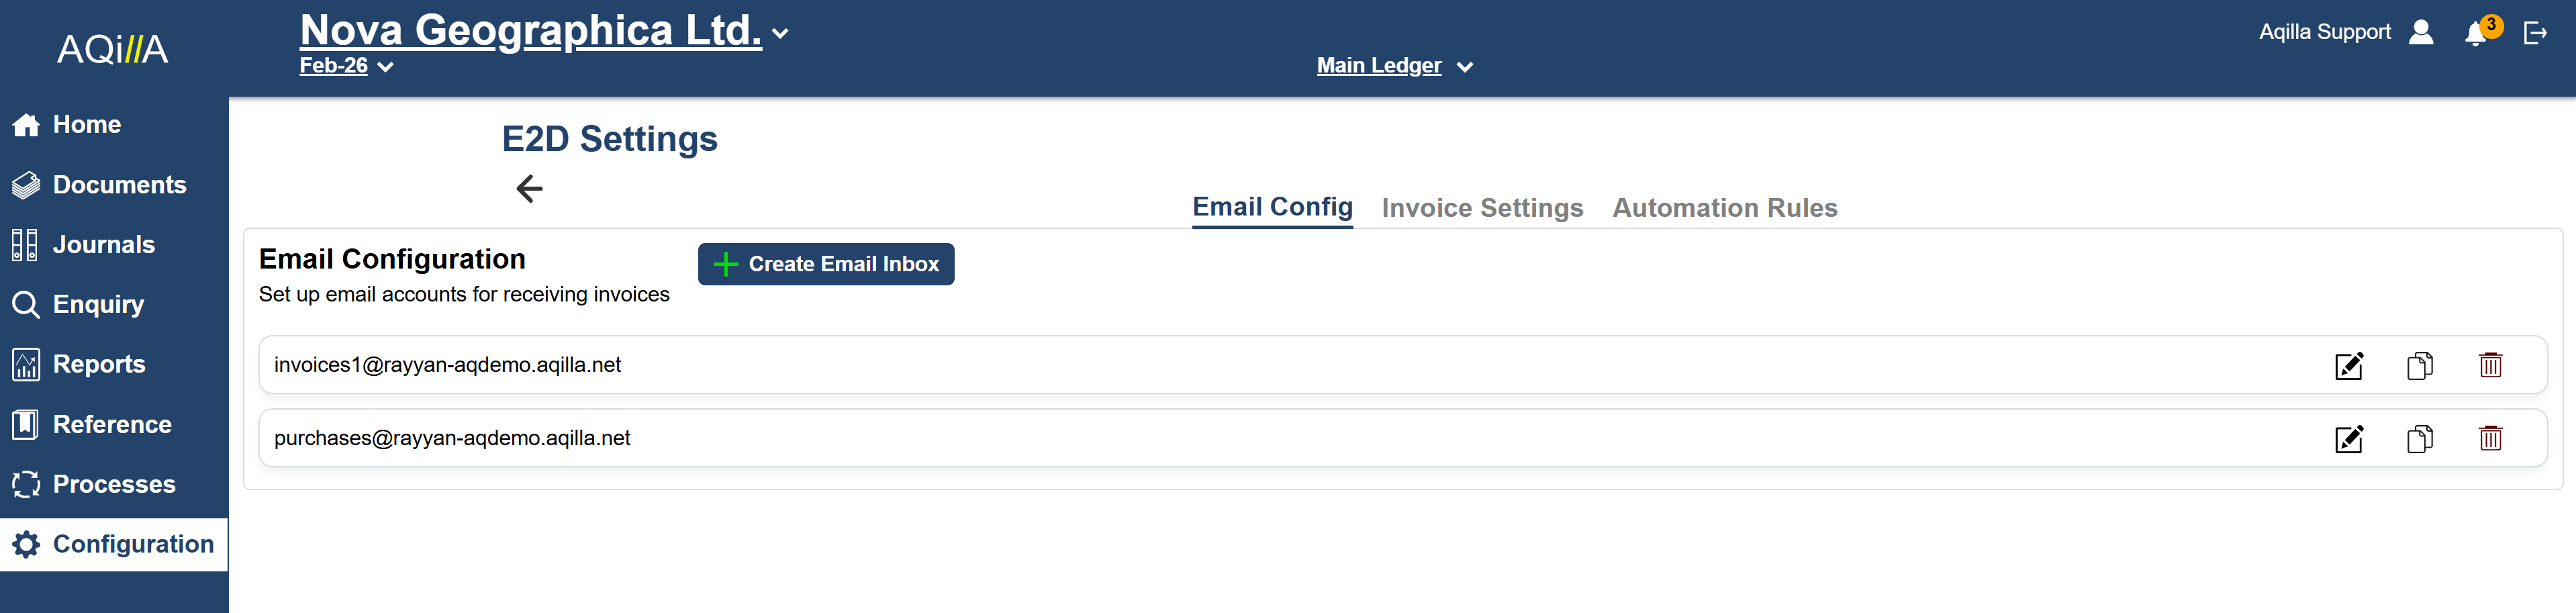
If you haven’t created your invoice inbox yet, you can do this in E2D Settings.
Go to: Configuration > E2D Settings
You’ll see the Email Configuration page.
Click: Create New Email Inbox
From there, you can set up your dedicated email address for receiving supplier invoices.